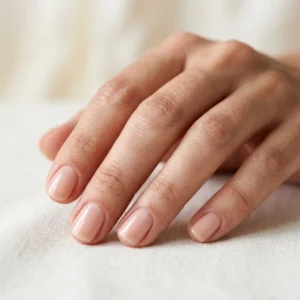
Short nail manicure: How to achieve long-lasting results?
A short nail manicure is both practical and trendy. Read how to achieve long-lasting results with Stikily stickers, how to prepare your nails, and how to choose the best design.
A short nail manicure is both practical and trendy. Read how to achieve long-lasting results with Stikily stickers, how to prepare your nails, and how to choose the best design.
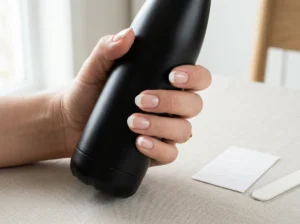
Achieve a perfect French manicure at home in just minutes. Stikily stickers ensure clean lines and long-lasting results without the need for polishing or worrying about smudges.
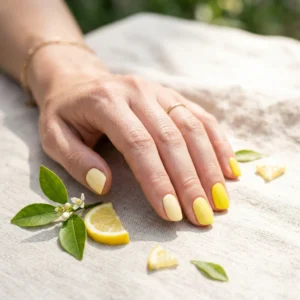
Discover the 6 hottest summer manicure ideas, from butter yellow to mermaid style. Find inspiration and learn how to achieve a long-lasting manicure from the comfort of your home.