
Short nail manicure: How to achieve long-lasting results?
A short nail manicure is both practical and trendy. Read how to achieve long-lasting results with Stikily stickers, how to prepare your nails, and how to choose the best design.
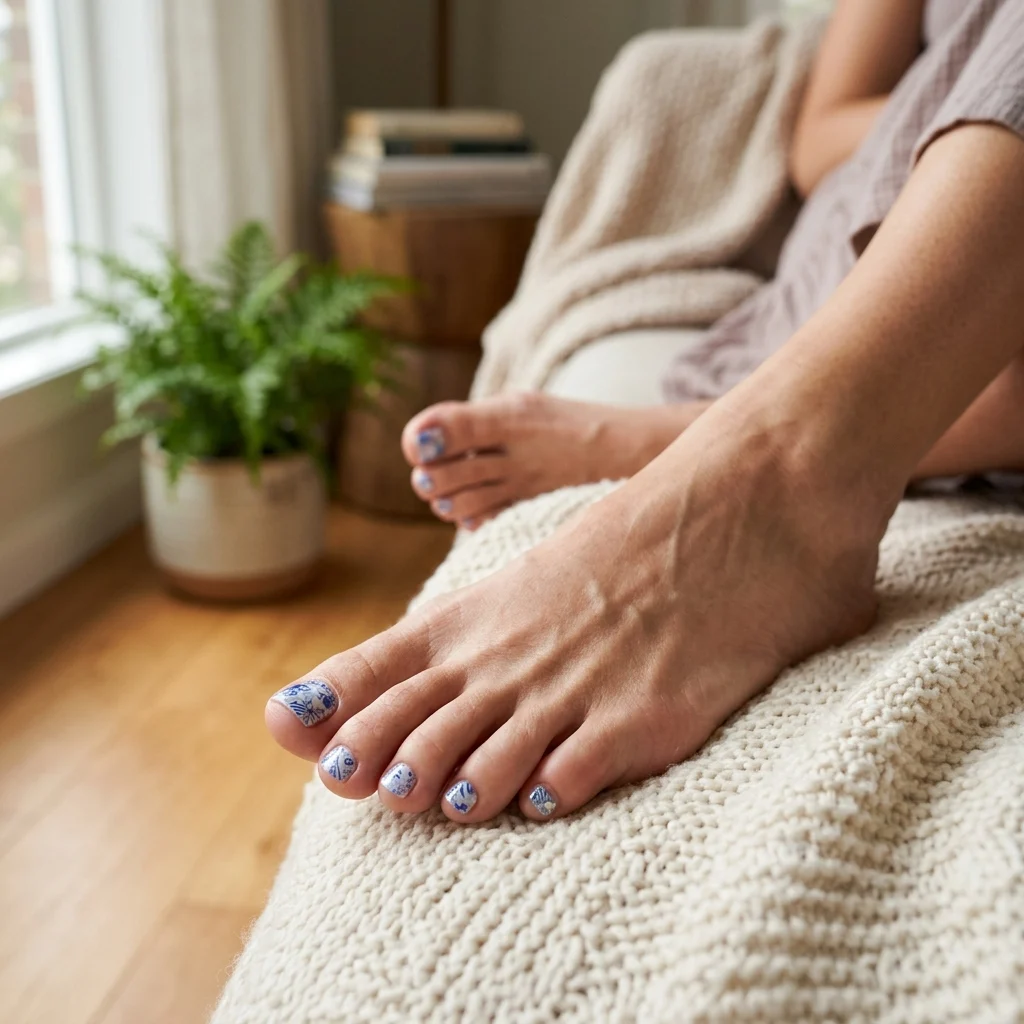
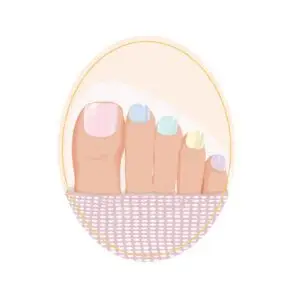
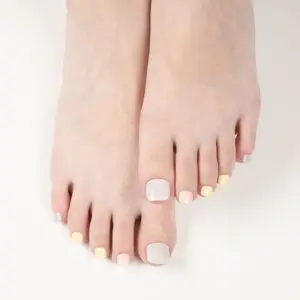
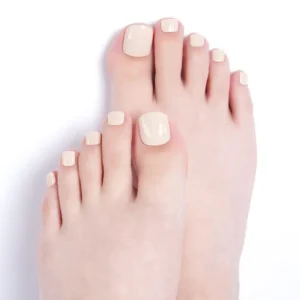
Do you dream of a long-lasting pedicure without spending hours at the salon? Gel nail stickers offer professional shine and durability in your own home, saving you time and keeping your nails healthy. It’s the most convenient way to achieve a flawless result in just 20 minutes.
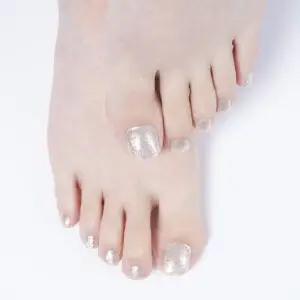
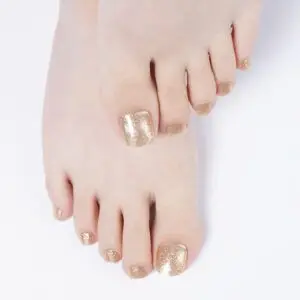
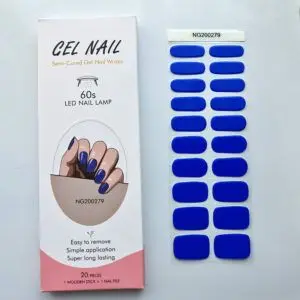
Unlike regular stickers, gel nail stickers are made from real gel polish ingredients that are partially cured. This means they are flexible and take the exact shape of your nail, becoming a strong and durable layer after being cured under a UV lamp. While regular nail polish can chip off your toes in just a few days, a home pedicure with gel polish stays flawless for up to four weeks.
The main advantage lies in speed and safety. Stikily products are TPO-free and safe, meaning you don’t have to worry about harsh chemicals often found in traditional salon products. Stikily stickers are not comparable to “press-on” nails – they are thin, natural, and protect your own nail plate instead of weighing it down.
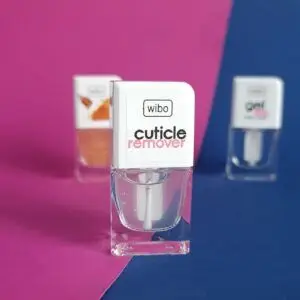
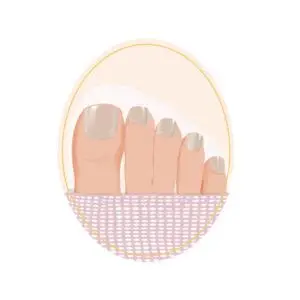
The secret to a professional pedicure lies in thorough preparation. Start by pushing back the cuticles and removing dead skin cells, for which a special cuticle remover is perfect. Then, carefully clean the nail surface of oil and moisture to ensure maximum adhesion of the sticker. This simple prep work is the foundation that keeps your pedicure lasting for weeks.
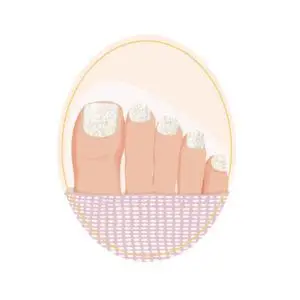
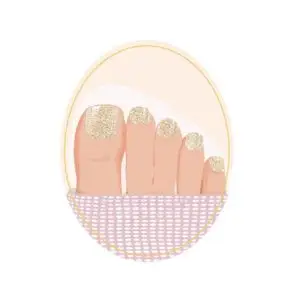
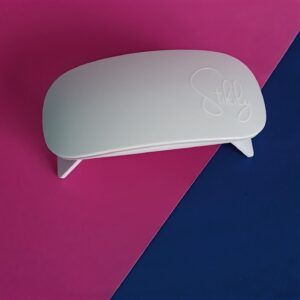
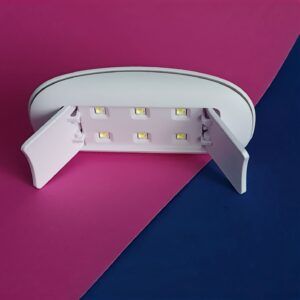
After preparation, choose the size that best fits your toenail – the package usually contains 32 different options, enough for several uses. Place the sticker on the nail, avoiding the cuticle, and press it down firmly. Trim the excess with scissors and file the edges smooth. As a final step, hold your toes under a UV lamp for 60 seconds, after which the result is instantly dry, hard, and ready for daily activities.
Even though application is a breeze, beginners often make mistakes that can shorten durability. The most critical thing is to avoid contact with water for at least two hours after application so the adhesive can set properly. Also, make sure the sticker doesn’t reach the cuticle, as this creates a small air gap where moisture can enter and cause the sticker to come off prematurely.
For a stronger result, you can add a top coat if you wish, but gel nail stickers themselves don’t actually need it. They already have integrated high gloss and strength that doesn’t fade over time. If the sticker feels insecure during application, press the edges down firmly a few more times before placing them under the lamp.
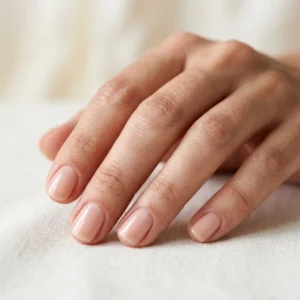
To keep your toenails and skin healthy, use a nourishing nail oil regularly. This keeps the cuticles soft and prevents the edges of the sticker from drying out, which in turn extends the life of your manicure. Oil is especially important if you wear closed shoes or move around a lot, as it keeps the sticker flexible and durable.
When you want to change the sticker, use an acetone-free nail polish remover. Gently soak the edge of the sticker with remover and carefully push it loose with a wooden stick, avoiding sudden movements. This method protects the nail plate from damage and keeps your feet always looking presentable.
Choose your favorite pedicure sticker design and enjoy maintenance-free nails today.
A short nail manicure is both practical and trendy. Read how to achieve long-lasting results with Stikily stickers, how to prepare your nails, and how to choose the best design.
Achieve a perfect French manicure at home in just minutes. Stikily stickers ensure clean lines and long-lasting results without the need for polishing or worrying about smudges.
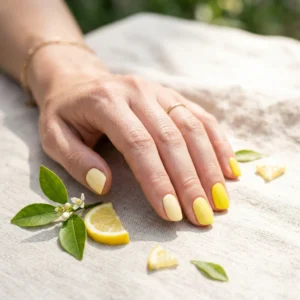
Discover the 6 hottest summer manicure ideas, from butter yellow to mermaid style. Find inspiration and learn how to achieve a long-lasting manicure from the comfort of your home.