
Graduation nails that last: Your guide to a flawless manicure
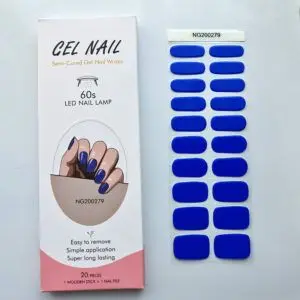
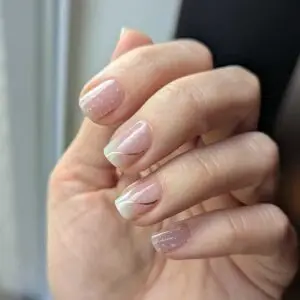
Achieve a flawless graduation manicure from the comfort of your home. Nail polish stickers are durable, quick to apply, and ensure a salon-worthy result that lasts for weeks.
Does your manicure start fraying at the edges after just a few days? Most durability issues aren’t caused by the product itself, but by insufficient preparation, which prevents the adhesive surface from bonding with the natural nail and leaves room for moisture to seep in.
Correct prep work ensures that nail polish wraps stay wear-resistant for up to 14 days, while special semi-cured gel nail stickers stay stunning for up to three weeks. By following professional preparation steps, you create a strong foundation that keeps your manicure firmly in place even with an active lifestyle.
The whole process begins with total cleanliness, which means removing all traces of old polish even if your nails look clean at first glance. Acetone-free nail polish remover is an excellent choice here, as it effectively cleans the nail plate of surface dirt and oils while being much gentler on the nails than harsh chemicals. After cleaning, wash your hands thoroughly with soap and dry them completely, as residual moisture is the sticker’s biggest enemy and can prevent the adhesive from bonding properly.
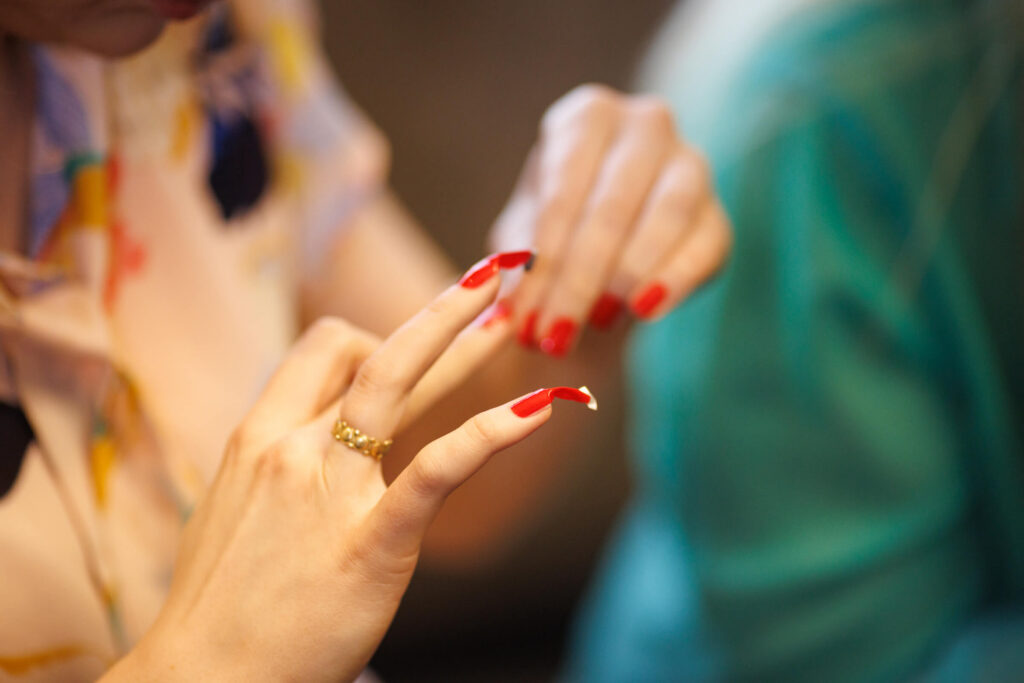
Since the sticker is designed to bond only with the nail plate, it will never stick to the skin, and ignoring this rule is the main reason why a manicure starts to fail. If you apply the sticker partially onto the cuticle, an unnoticeable air gap forms, which starts to collect moisture and dirt, eventually leading to the sticker peeling off prematurely.
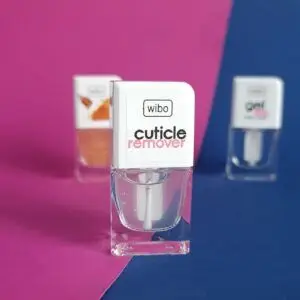
Use a dedicated remover to soften dead skin cells and gently push back the cuticles with a wooden stick to free up maximum surface area for the sticker. This step not only improves durability but also gives your manicure a clean and professional look, similar to what is taught in our application guide.
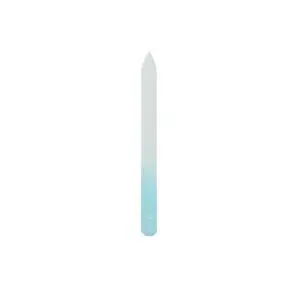
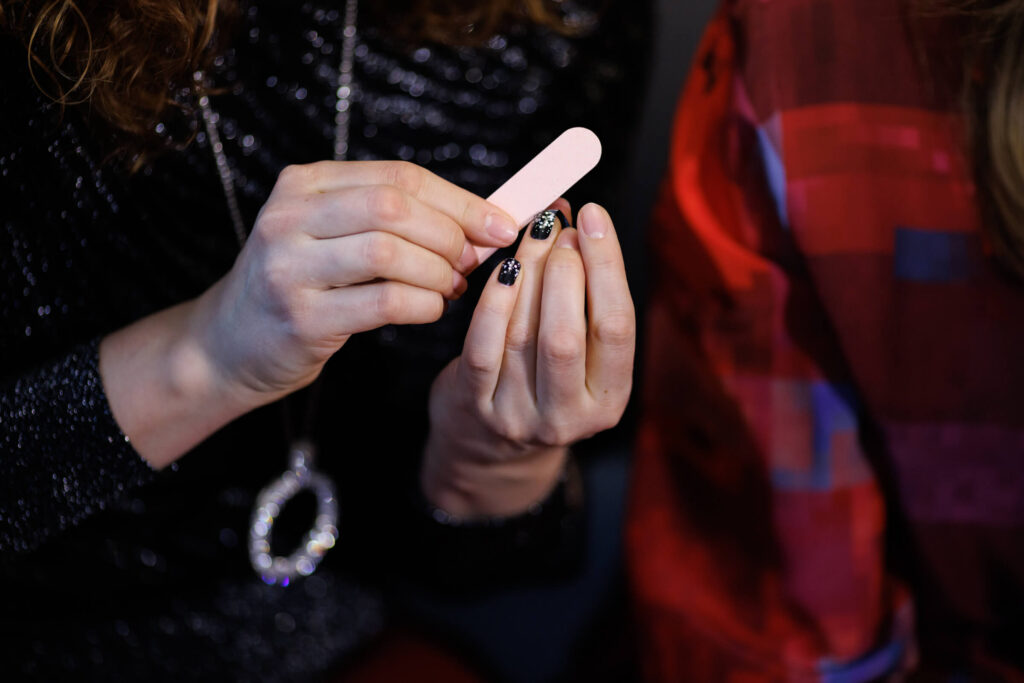
Before applying the sticker, shape your nails as desired, preferably using a high-quality glass file that seals the nail layers and prevents later splitting. If your nail plate is naturally uneven or has deep ridges, it’s worth lightly matting the surface with a buffer file. Light buffing removes natural oils and creates a slightly rough texture for the adhesive surface to grip better, but be careful not to file the natural nail too thin.
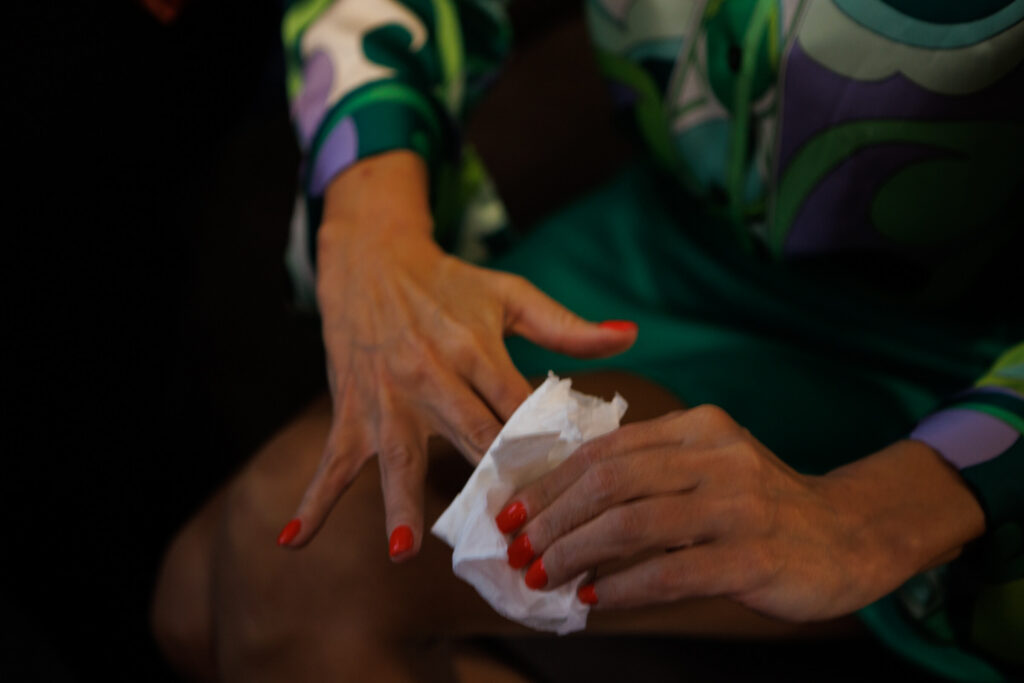
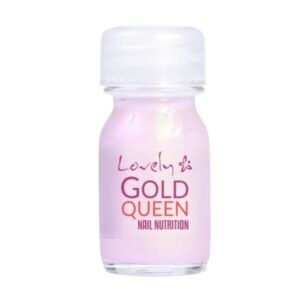
Many home manicurists skip dehydration, even though experts confirm that removing excess moisture and oils can improve adhesion up to three times. Wipe each nail with an alcohol pad or a special dehydrator and let them air dry for at least 30 seconds so the surface is completely matte and dry. After this step, it’s important not to touch your nails again to avoid accidentally transferring a new layer of oil from your fingertips. If you naturally have very oily skin, you can try double cleaning, which is especially critical when the goal is a long-lasting at-home gel manicure.
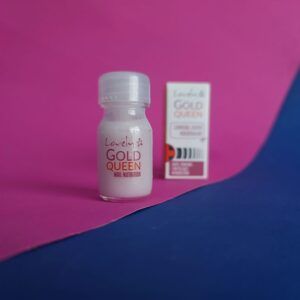
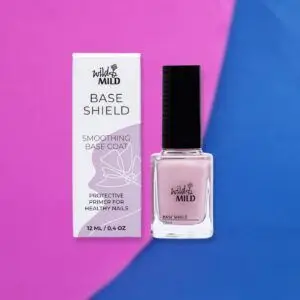
Although Stikily products are designed to be applied directly to a clean nail, very weak nails or those with deep ridges may need extra support. A smoothing base coat fills in irregularities and creates a flawless base that helps the sticker sit more evenly. When using a base coat, the most important rule is patience: it must be completely dry before adding the sticker to prevent bubbles or the sticker sliding.
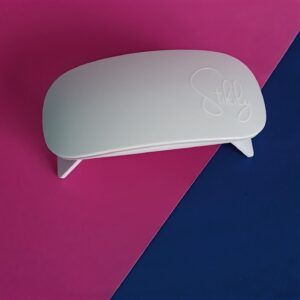
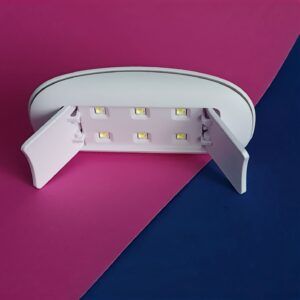
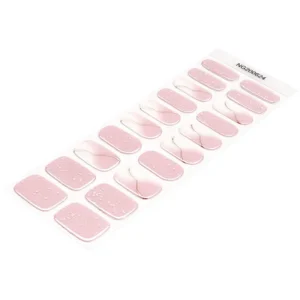
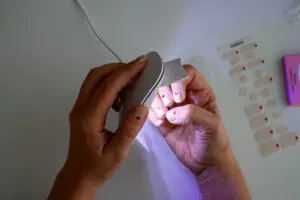
Once the preparation is done, choose a suitable sticker for each finger, preferably a tiny bit smaller in size to avoid contact with the cuticles. Press the sticker firmly and evenly against the nail, moving from the center toward the edges to remove all air bubbles. For gel nail stickers, use a UV lamp to finish the process, which hardens the material and locks the manicure in place for weeks.
After a successful application, it’s worth avoiding soaking your hands in hot water for at least a couple of hours to allow the adhesive to fully set. If you want to dive into even more specific techniques, the gel nails for beginners guide offers additional tips for achieving a flawless finish. Proper preparation is an investment that saves you time and ensures your hands look well-groomed in every situation.
Achieve a flawless graduation manicure from the comfort of your home. Nail polish stickers are durable, quick to apply, and ensure a salon-worthy result that lasts for weeks.

Discover the 2025 wedding nail trends and find your perfect manicure. With Stikily gel stickers, you can achieve a lasting, professional result at home for up to 3 weeks.
Should you choose traditional gel polish or gel nail stickers? We compare the durability, application speed, and impact on nail health of both methods to help you find the best one.