


French manicure at home: Flawless results in just minutes
Achieve a perfect French manicure at home in just minutes. Stikily stickers ensure clean lines and long-lasting results without the need for polishing or worrying about smudges.
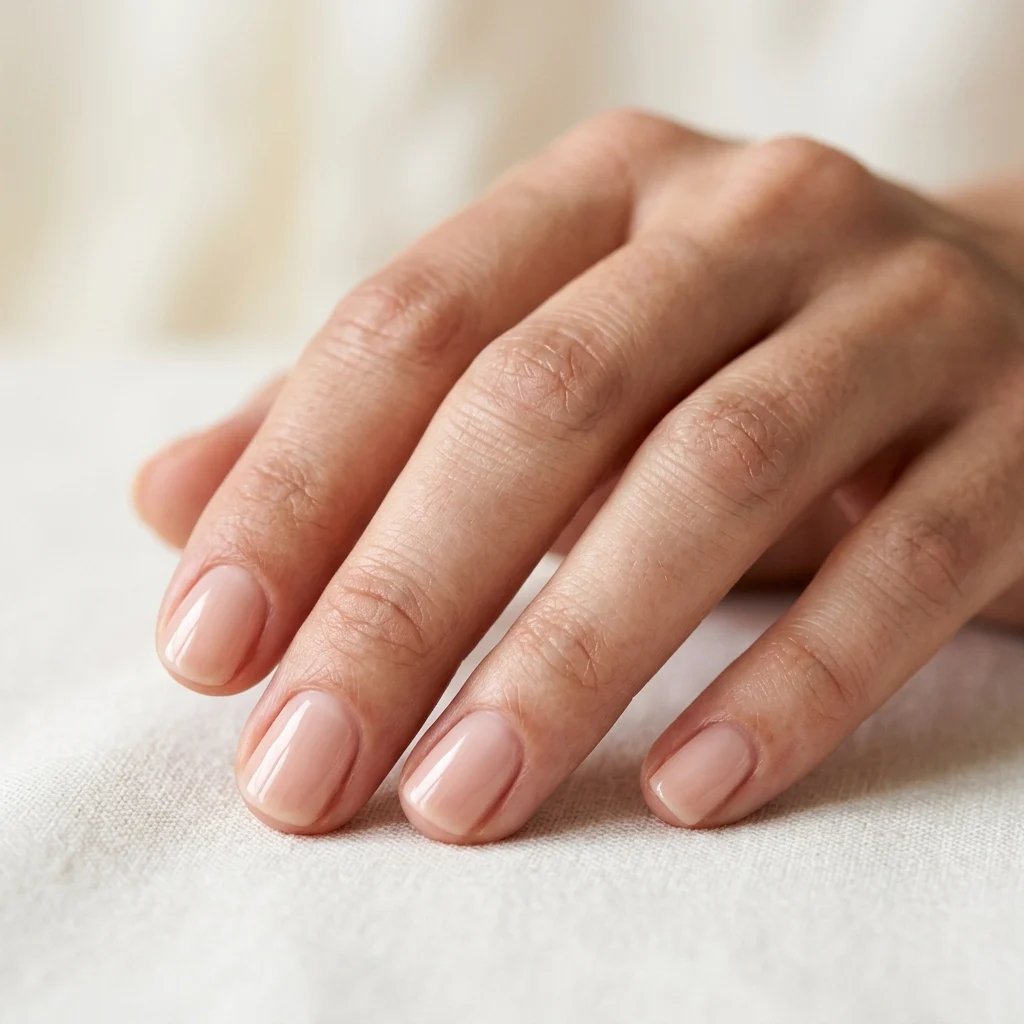
Do you believe that short nails limit your manicure options? In fact, a short nail manicure is one of the most practical and trendy choices, always offering a clean and professional look without the inconvenience of long nails.
Short nails have secured a firm position in the fashion world thanks to the popular “clean girl” aesthetic. They are hygienic, comfortable for daily work, and look neat even with a minimalist design. Unlike long nails, which have a high risk of breaking, a manicure on short nails often lasts longer if you follow the correct application techniques and take care of your nail plate health.
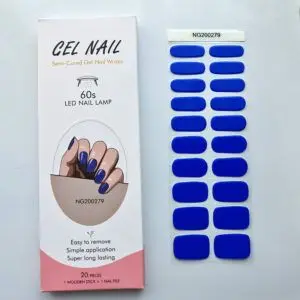
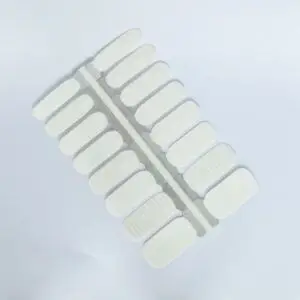
Stikily offers two main solutions for this. If you’re looking for quick and convenient results, the best choice is nail polish stickers, which are ready in just 15–20 minutes and decorate your hands for up to 14 days. However, if you want maximum durability, gel nail stickers offer salon-quality staying power for up to three to four weeks, while being gentler on the nail plate than traditional gel polish.
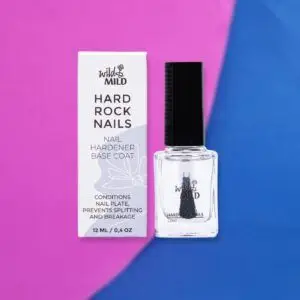
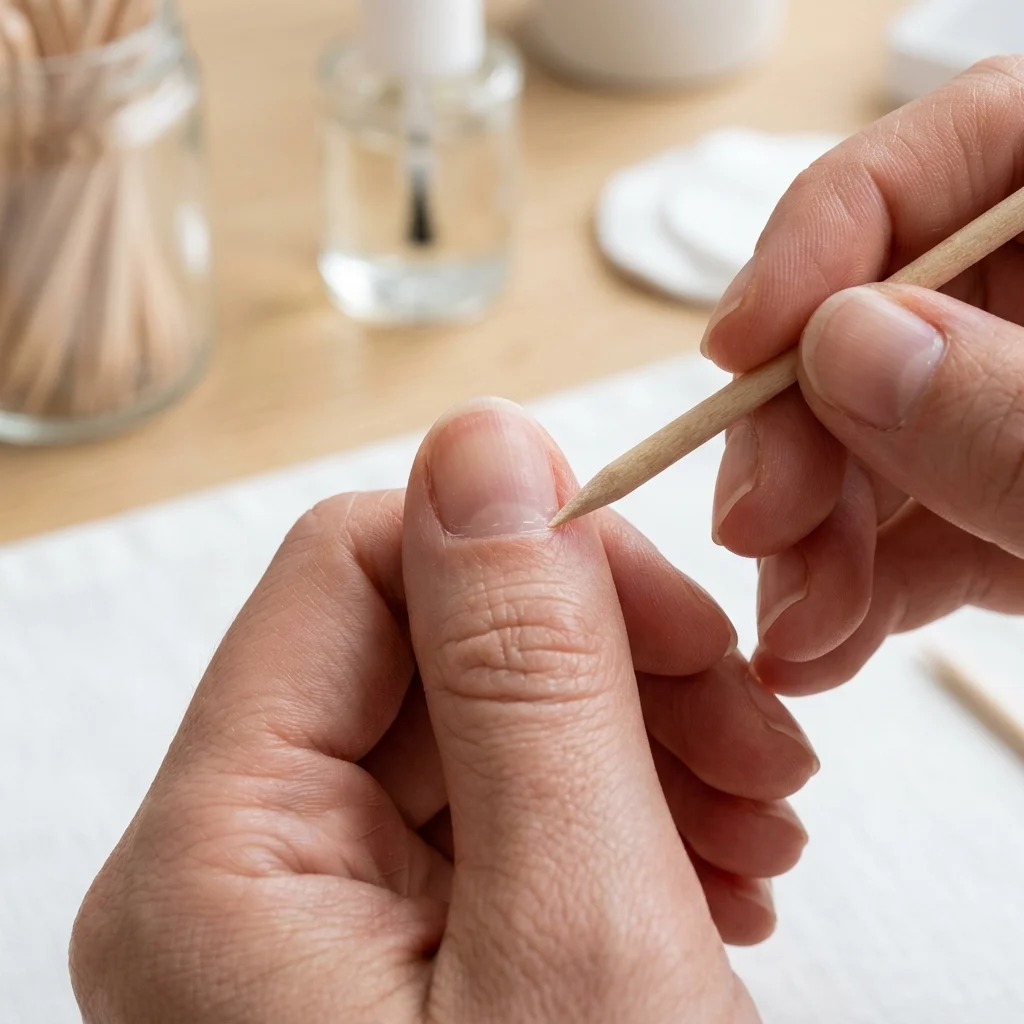
With short nails, every millimeter counts, and therefore correct prep work is critical. Most durability issues aren’t caused by the product itself, but by insufficient preparation that prevents the adhesive surface from bonding with the natural nail. Preparing the nails ensures that no moisture or dirt gets under the sticker.
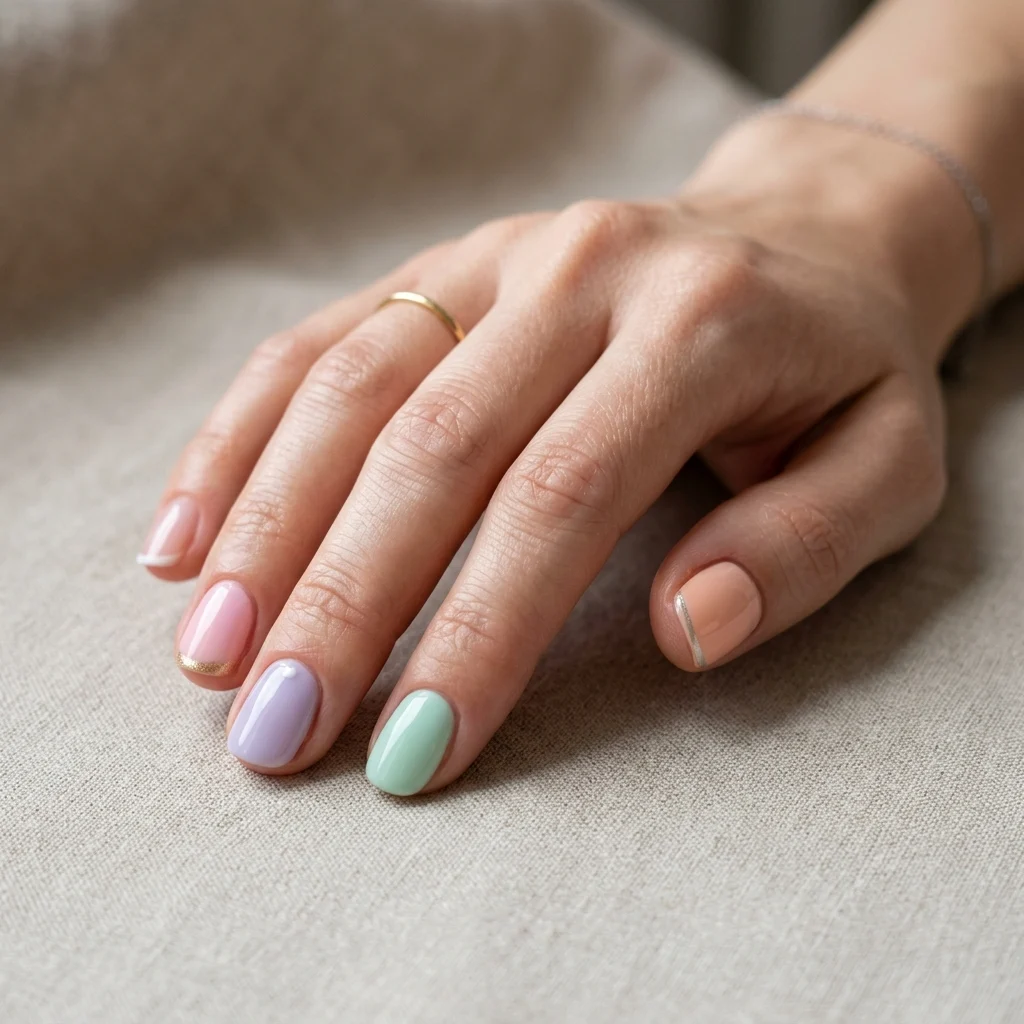
Short nails don’t have to mean a boring result. With the right pattern and shade, you can visually extend the nail plate or emphasize its natural and clean shape.
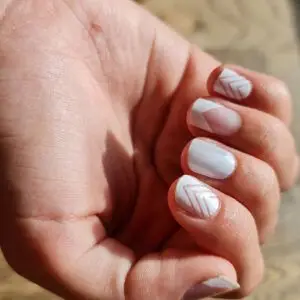
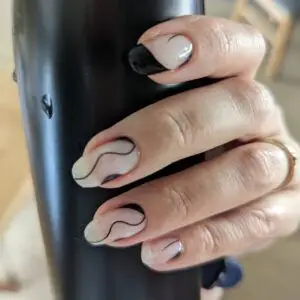
Unlike the classic wide white stripe, a micro-tip is ideal for short nails. A French manicure with an ultra-thin line at the tip of the nail makes the fingers look graceful and longer, suiting square-shaped nails especially well.
Ombre nails create a smooth color transition that blurs the boundary between the nail plate and the free edge, helping to visually “stretch” the nail. If you want a soft and fresh look, a pastel manicure is a timeless choice that fits every season.
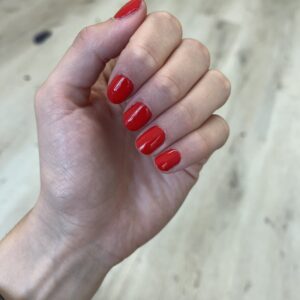
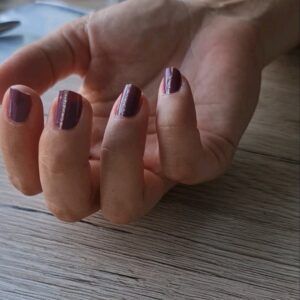
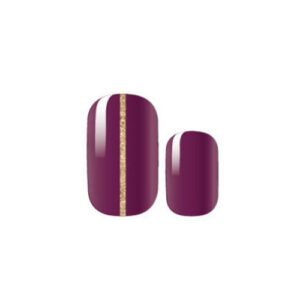
A monochrome manicure is the most professional and luxurious choice for short nails. Deep wine reds, clean beiges, or modern dark blue shades look sharp and well-groomed on short nails, emphasizing the “quiet luxury” style.
Comparing what gel polish and gel nail stickers offer, the biggest advantage of stickers is their safety and speed. Gel nail stickers are essentially partially cured real gel polish on a convenient backing, meaning you don’t have to worry about the polish running or the smell of chemicals. Compared to gel nails, which take hours to maintain, stickers save you significant time and money while offering the same durability.
It’s important to distinguish that Stikily products are not press-on nails. While press-on solutions are rigid plastic forms that can feel unnatural, a Stikily sticker is thin, takes the exact shape of your nail, and protects your own natural nail plate.
At-home gel polish in the form of stickers is an easy method to achieve salon quality. Follow these steps to ensure the result stays flawless for weeks:
Removing gel nail stickers is a much gentler process than taking off traditional gel polish, which often requires aggressive filing or soaking in acetone. For Stikily stickers, warm water and oil are enough to preserve the nail’s natural strength.
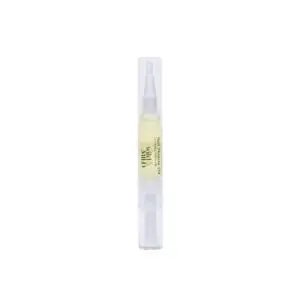
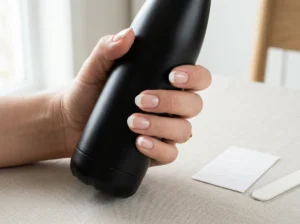
Soak your hands for about 10 minutes in warm water with added nail oil – this softens the adhesive layer and makes removing the sticker a breeze. Gently lift the edge of the sticker with a wooden stick and slide it off. After removal, always use a nourishing nail oil to provide the necessary hydration to your nails and skin.
Short nails are the perfect canvas for a neat and stylish manicure that doesn’t require hours of waiting in a beauty salon. Choose your favorite designs from the nail care category and enjoy well-groomed hands in every situation!
Achieve a perfect French manicure at home in just minutes. Stikily stickers ensure clean lines and long-lasting results without the need for polishing or worrying about smudges.
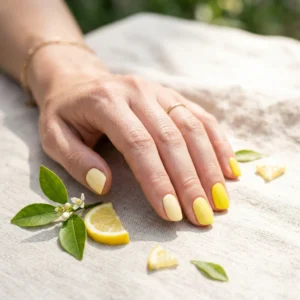
Discover the 6 hottest summer manicure ideas, from butter yellow to mermaid style. Find inspiration and learn how to achieve a long-lasting manicure from the comfort of your home.
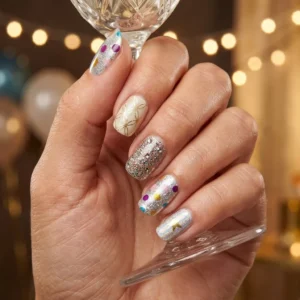
Choose stylish Stikily nail polish stickers for your birthday and achieve a salon-quality result at home in just 20 minutes. They last for weeks and are completely safe for your nails.