

Short nail manicure: How to achieve long-lasting results?
A short nail manicure is both practical and trendy. Read how to achieve long-lasting results with Stikily stickers, how to prepare your nails, and how to choose the best design.

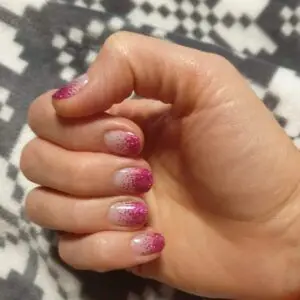
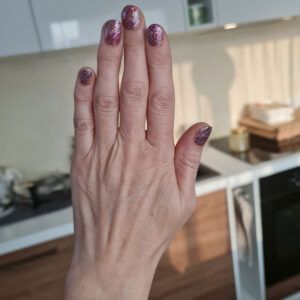
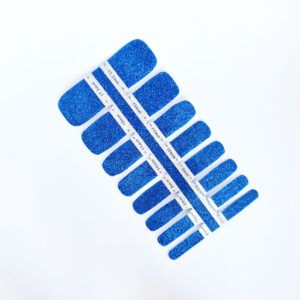
Tired of uneven glitter polish and endless drying times? Glitter design nail polish stickers provide a sparkling salon result from the comfort of your home, without the chemical smell or a bumpy surface. It’s an easy way to achieve a flawless glow that lasts for weeks without wearing off.
Unlike traditional polish, where glitter particles can leave the nail surface rough or require multiple coats, stickers ensure a perfectly smooth and even finish. This makes your home manicure quick and professional, saving you time and frustration.
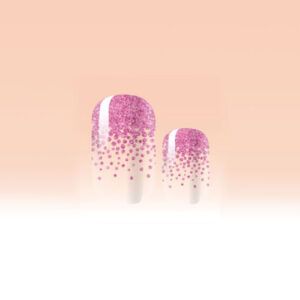
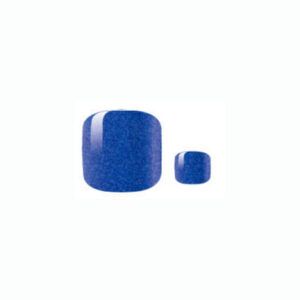
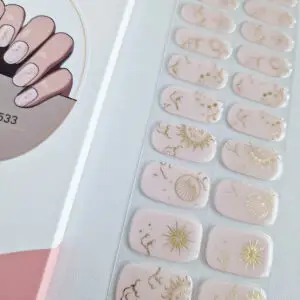
The world of glitter offers endless possibilities, and the right choice depends on how intense you want the sparkle to be. For stickers, the most popular options are:
If you want to add a special sparkle to your hands, you can find both bold accent nails and complete shimmering sets in our selection of glitter design nail polish stickers.
Before starting your manicure, it’s worth considering whether regular nail polish stickers or UV-cured gel nail stickers better suit your lifestyle. Both offer a wonderful shine, but the main difference lies in the material and durability.
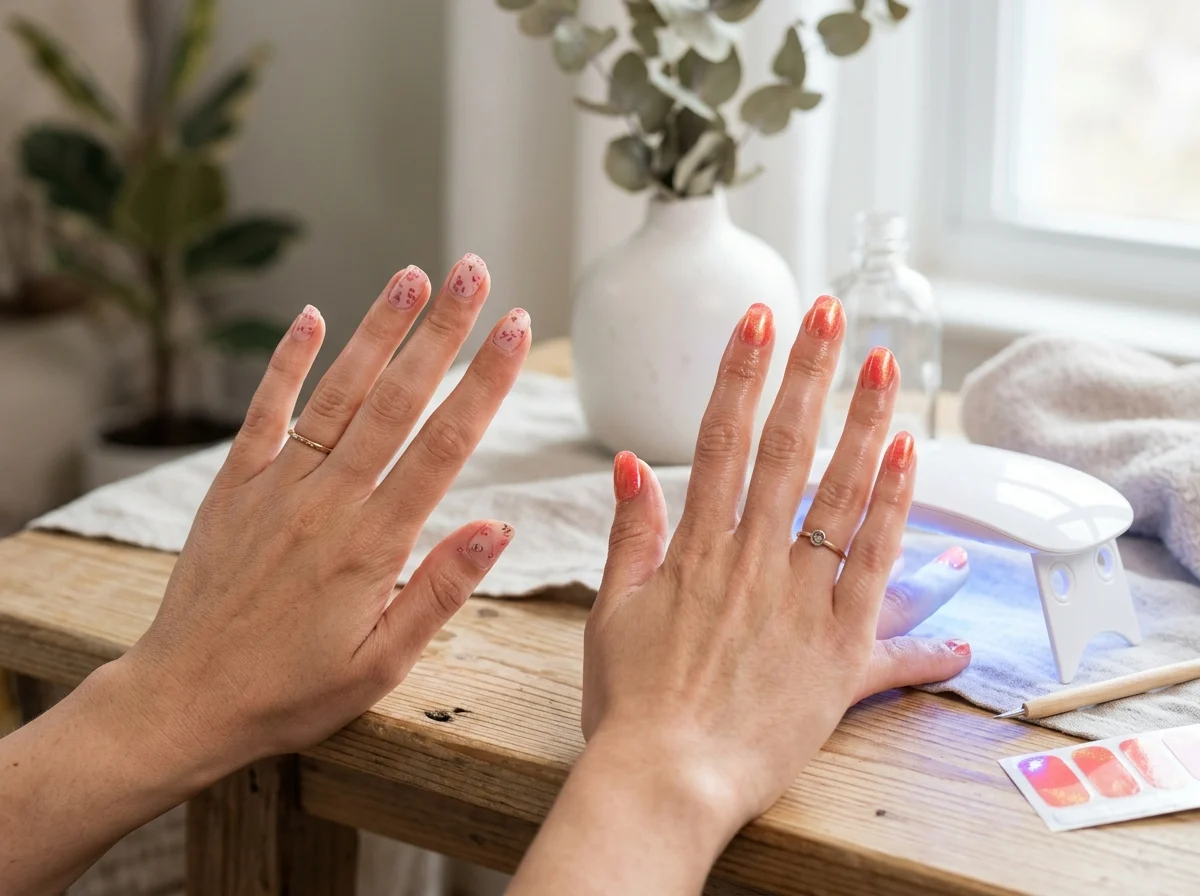
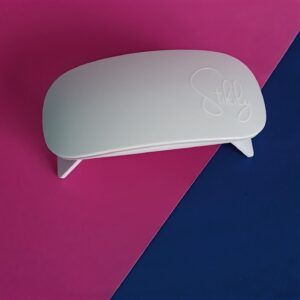
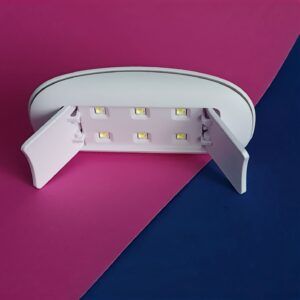
Regular nail polish stickers are made from real nail polish and stay wear-resistant for up to 14 days. No extra equipment is needed for application, and they remove just as easily as regular polish. Gel nail stickers, however, are made from partially cured gel polish, which makes them flexible and easy to shape. After 60 seconds under a UV lamp, they turn into a hard and durable protective layer that stays flawless for up to three weeks. You can read a more detailed comparison of the differences between gel polish and gel nail stickers.
It’s important to note that unlike “press-on” nails made of plastic, Stikily products are natural, thin, and TPO-free, offering a safe alternative to harsh chemicals.
A critical factor in the longevity of a glitter manicure is the preparation of the nail plate. Natural oils and moisture are the biggest enemies of durability, so they require special attention.
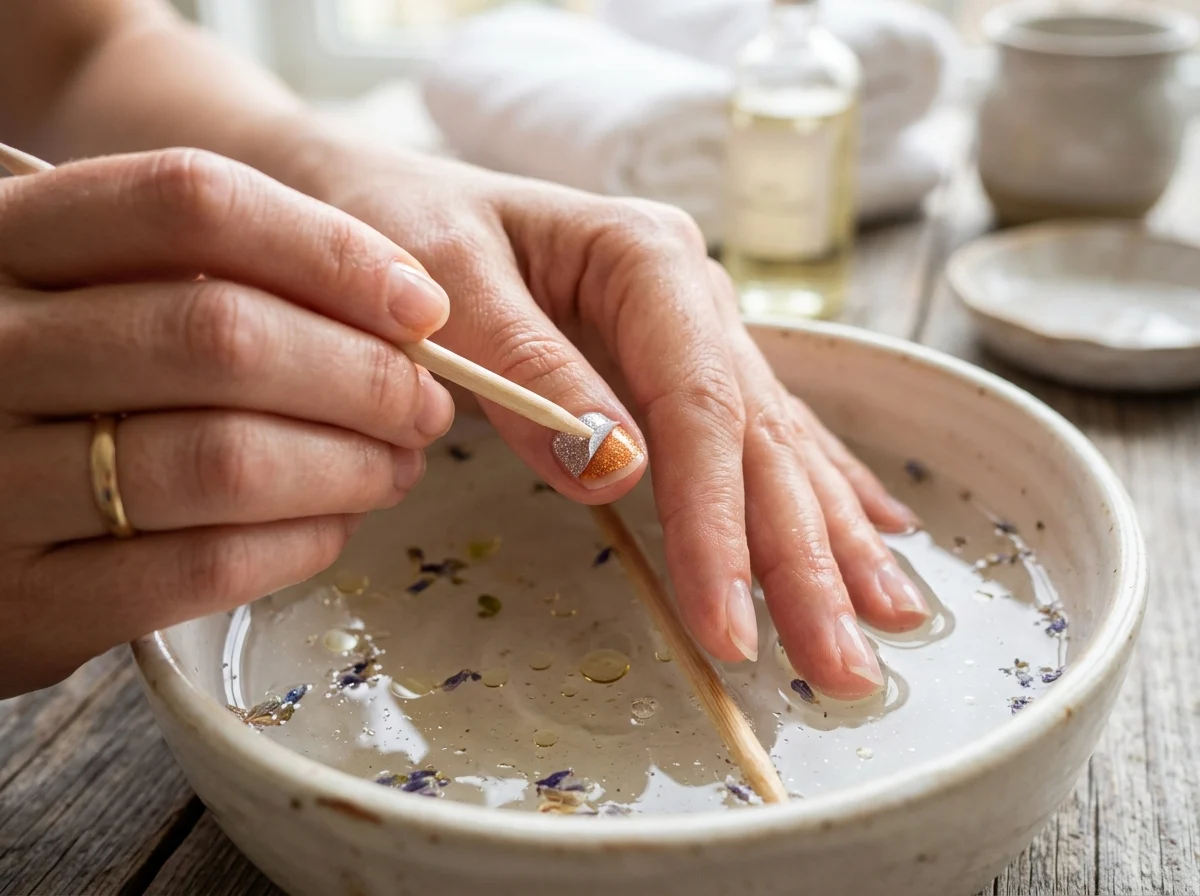
Many avoid glitter manicures because removing them with regular acetone can be tedious and damaging to the nails. With stickers, however, the process is much gentler and nail-friendly.
The best way to remove both gel nail stickers and regular stickers is to use heat and oil. The most convenient method is to soak your nails for about 10 minutes in warm water with a bit of nail oil or olive oil added. This softens the adhesive layer, allowing you to gently lift the edge of the sticker with a wooden manicure stick. This method preserves the strength of your natural nail plate and moisturizes the skin. You can find more tips in the gel nail sticker removal instructions.
Glitter nails in sticker form are a smart choice for those who value speed and economy without wanting to compromise on manicure quality. Discover new manicure and design possibilities and enjoy a sparkling result today.
A short nail manicure is both practical and trendy. Read how to achieve long-lasting results with Stikily stickers, how to prepare your nails, and how to choose the best design.
Achieve a perfect French manicure at home in just minutes. Stikily stickers ensure clean lines and long-lasting results without the need for polishing or worrying about smudges.

Discover the 6 hottest summer manicure ideas, from butter yellow to mermaid style. Find inspiration and learn how to achieve a long-lasting manicure from the comfort of your home.